

On Dec 10th the Cybersecurity industry was made aware of CVE-2021-44228, a novel vulnerability in a commonly found software component called Java Log4J. Systems with this vulnerable component are at risk from outside attackers who can launch attacks to remotely manipulate and control those systems. This article will show you how to use the CISA Log4J Scanner released in Dec 2021 to detect if your systems are vulnerable.
In simple terms, any computer which is running Java, exposing port 443/80 for a Website, and also logging its Web errors to Java’s Log4J is at critical risk for an Unauthenticated Remote Code Execution Attack.
The CISA Log4J scanner will audit your systems and definitively show which systems are at risk by testing the exploit against a target, and calling back to another listening host to show the full attack flow.
Pre Task 1 : Pick the CISA Log4J Scanner host and Listener host on your Network
This vulnerability requires 2 TCP connections to exploit, 1 from the scanner to the target host and another from the target host to a callback host. Because of the complexity of modern enterprises it’s very important to pick 2 hosts which are in close proximity to your intended test systems.
You can also choose hosts that have a wide reach across your network (think Jump Boxes, Vulnerability scanner boxes, SuperAdmin boxes etc). Make sure to temporarily disable any local firewalls or AV on your scanning host which may return false results by blocking your scans locally.
Pre Task 2 : Pick your targets wisely and effectively.
It may be tempting to try and enumerate/scan your entire network but this will waste valuable time and is not a pragmatic approach. Java is found pretty much everywhere and this can seem overwhelming, but you can reduce this significantly by disqualifying hosts according to the following criteria :
–Is Java running on the suspected target hosts or did you detect it as a static file? Java and Log4J both need to be running in memory for this Vulnerability to matter. If you detect Java Apps from your endpoint agents, make sure it is live in memory and not just a static JAR.
–How accessible are your target hosts over port 80/443? Remember the host has to receive a 443/80 TCP request to be exploited. If you have subnets which have zero 80/443 accessibility (think Voice or NFS blocks) exclude them. Please confirm this with your Network Team or FW Management Tools.
You can also install and use NMAP on CMD and run this command to generate a file which shows all hosts with 80/443 open from your scanner.
nmap -n -Pn -iL SubnetList.txt -p80,443 -oG – | grep ‘/open/’ | awk ‘/Host:/{print $2}’ > 80-443-Hosts.txt
–Do your target hosts have Internet Access? The highest risk hosts will be open to the internet to accept inbound HTTP/HTTPS and have no restrictions going back out to the Internet. Hosts on the DMZ, hosts with public interfaces, jumphosts with public IPs, OOB Console Servers, Cloud WebApp instances, investor relation sites, Disaster Recovery sites etc. This should be scanned first.
Step 1 : Setting up your CISA Log4J Scanner.
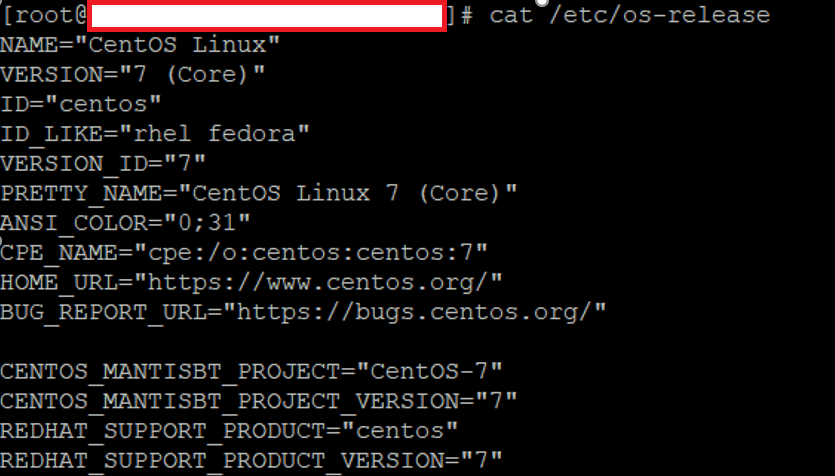
I recommend picking a Linux based box as it very easy to setup the Log4J scanner. Once you are logged in, it’s time to install Python3 and Git. Use the command below to identify the Linux OS and figure out the appropriate permissions and commands you need to install software.
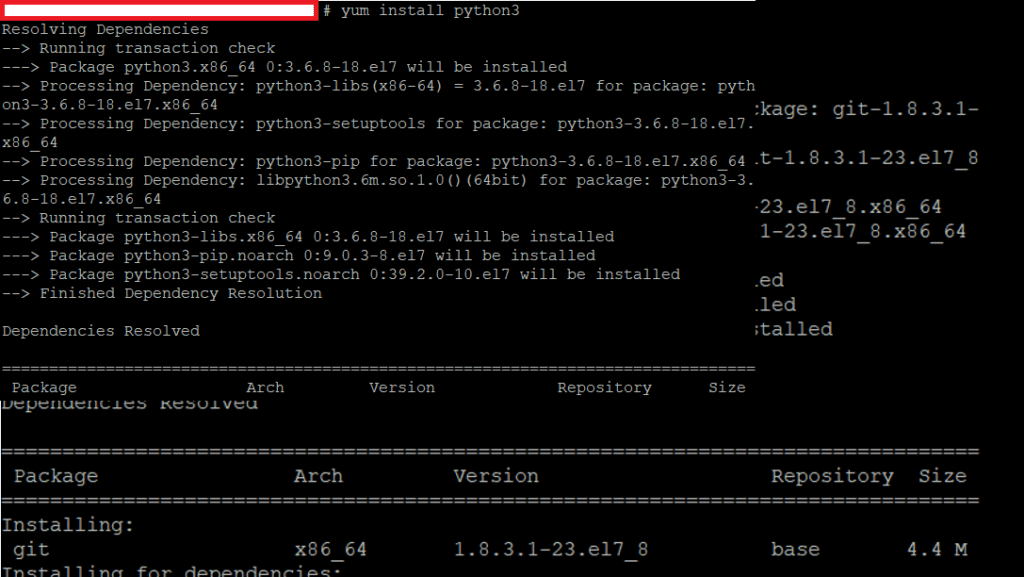
In CentOS the commands to install Git and Python3 are shown below.

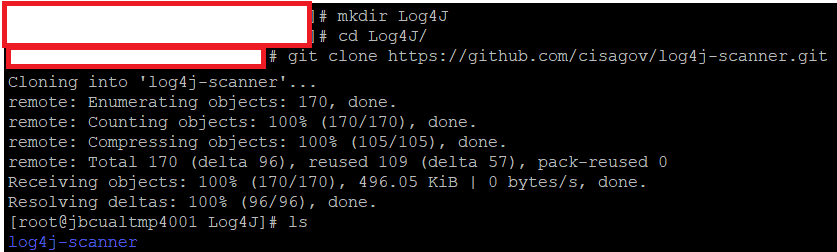
Now use Git to download the CISA Log4J Scanner.
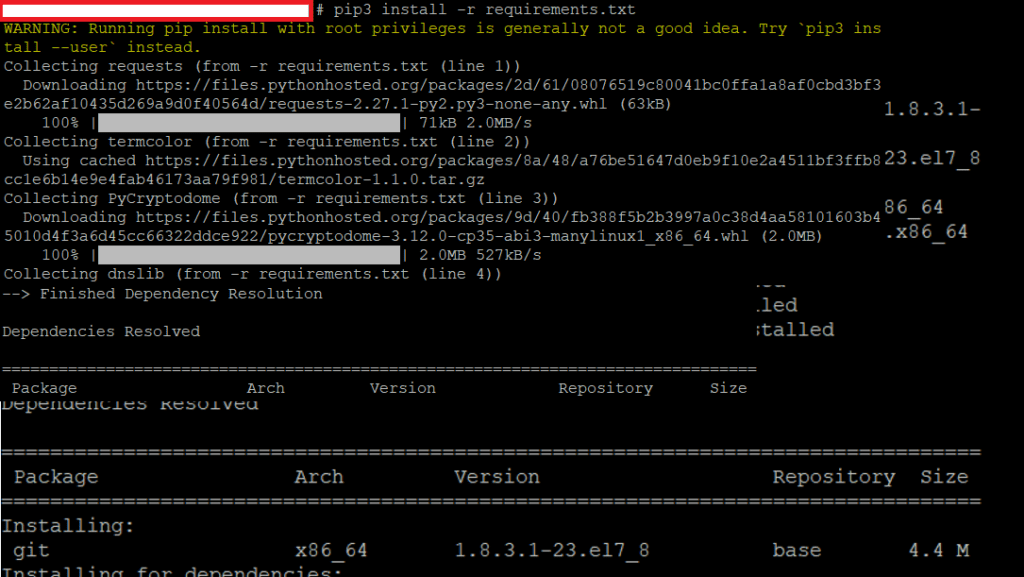
Navigate to the the CISA Log4J scanner directory and issue the following pip3 command to install all of the components that the CISA Log4J Scanner will use.
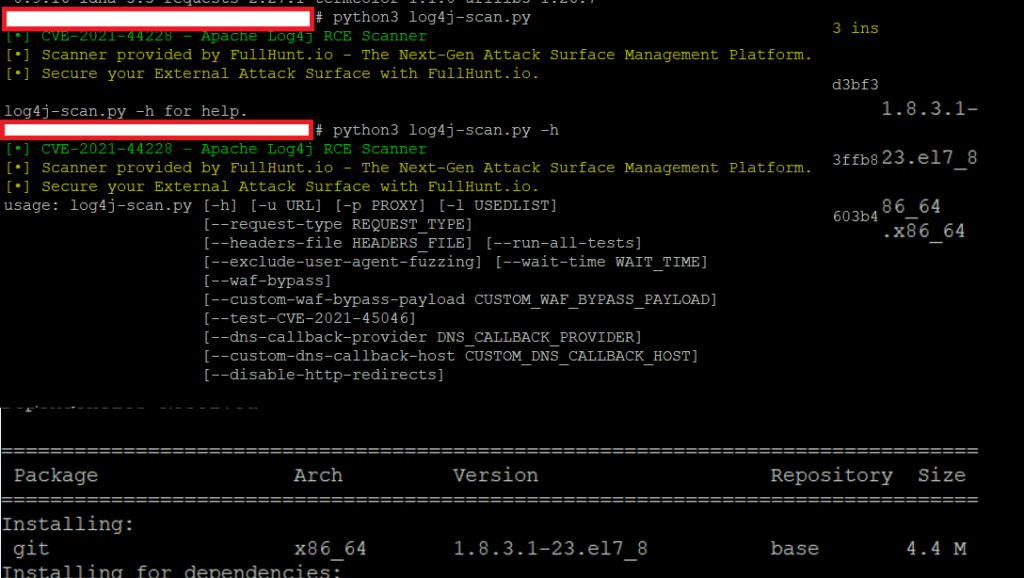
If all of this worked, you can issue this command to confirm the scanner is working.
Step 2 : Set up your Listener.
When a vulnerable server is exploited it can send a request back to a malicious server that an attacker controls. In your testing you will want to emulate this server to see if any vulnerable servers exploit and connect back to it. Pick a single TCP port to accept connections. Remember your listener is a different host from your scanning host.
You can use Tcpdump or Netcat to do this :


Step 3 : Scan Away!
Now that we have the Scanner host, Listener host and a Target host its time to scan using the CISA Log4J Scanner. Issue the following command to scan.
python3 log4j-scan.py -u http://10.20.234.1 –run-all-tests –custom-dns-callback-host 10.5.130.6:6666
-u <URL/IP> is the Target host
–custom-dns-callback-host <IP:Port> is the Listener

Step 4 : Validate the Vulnerability.
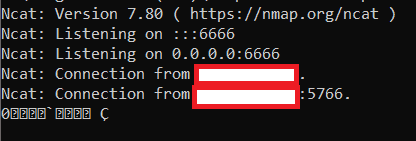
Now if the host you targeted executed the vulnerability, it will try to connect to your callback Listener host via TCP. On that host we should see the following output in netcat. In the real world an attacker would control the listener and have a connection into your network.
Any host that shows Connection from <host> is vulnerable and needs to be addressed right away.
Commands Used :
These are the commands featured in How to use CISA Log4J Scanner :
cat /etc/os-release
sudo yum install git
git
mkdir Log4J
cd Log4J/
git clone https://github.com/cisagov/log4j-scanner.git
cd log4j-scanner/
yum install python3
cd log4-scanner/
pip3 install -r requirements.txt
python3 log4j-scan.py
python3 log4j-scan.py -h
On Listener :
tcpdump -i any ‘port 6666’
nc -lvp 6666
python3 log4j-scan.py
Scan Command from Log4J Scanner:
python3 log4j-scan.py -u http://10.1.1.1 –run-all-tests –custom-dns-callback-host 10.2.2.2.2:6666
Optional Step : Setup a Test Vulnerable Java App to Scan
If you want to make sure your scanner is running, or test monitoring, you can run a test vulnerable app by cloning this Git and running this JAR file in Java.
It will launch a small Java app that you can browse to (in this case locally via 127.0.0.1) over port 18080
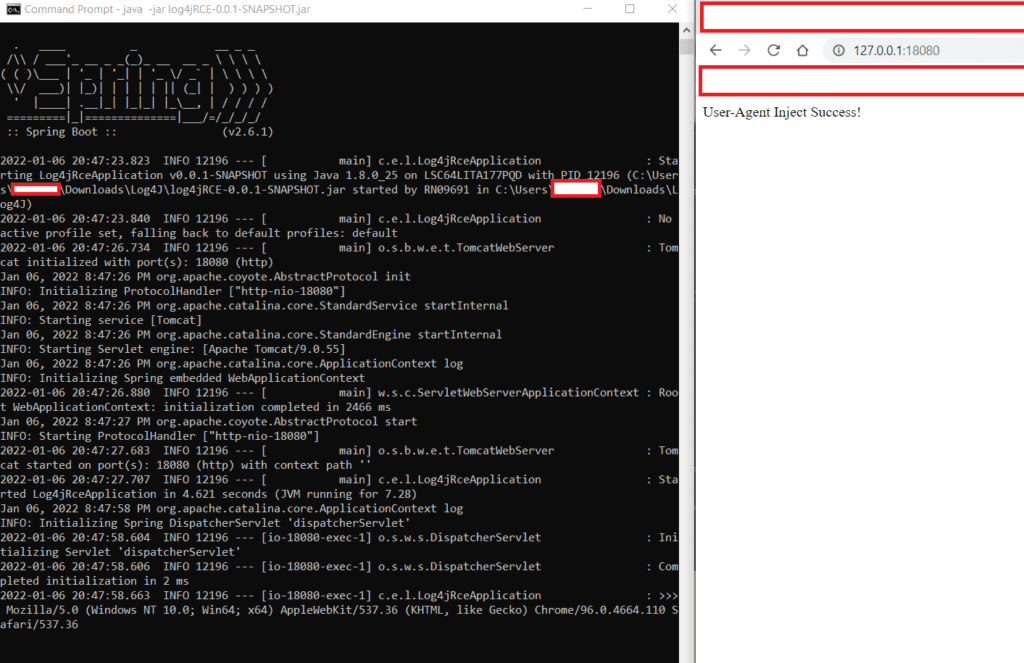
You can then target this application to test that your scanner works properly. (Note : In this example, I am testing to 127.0.0.1, change to wherever IP the test vulnerable app is running on)
